Maple Bacon Cheesecake for Two
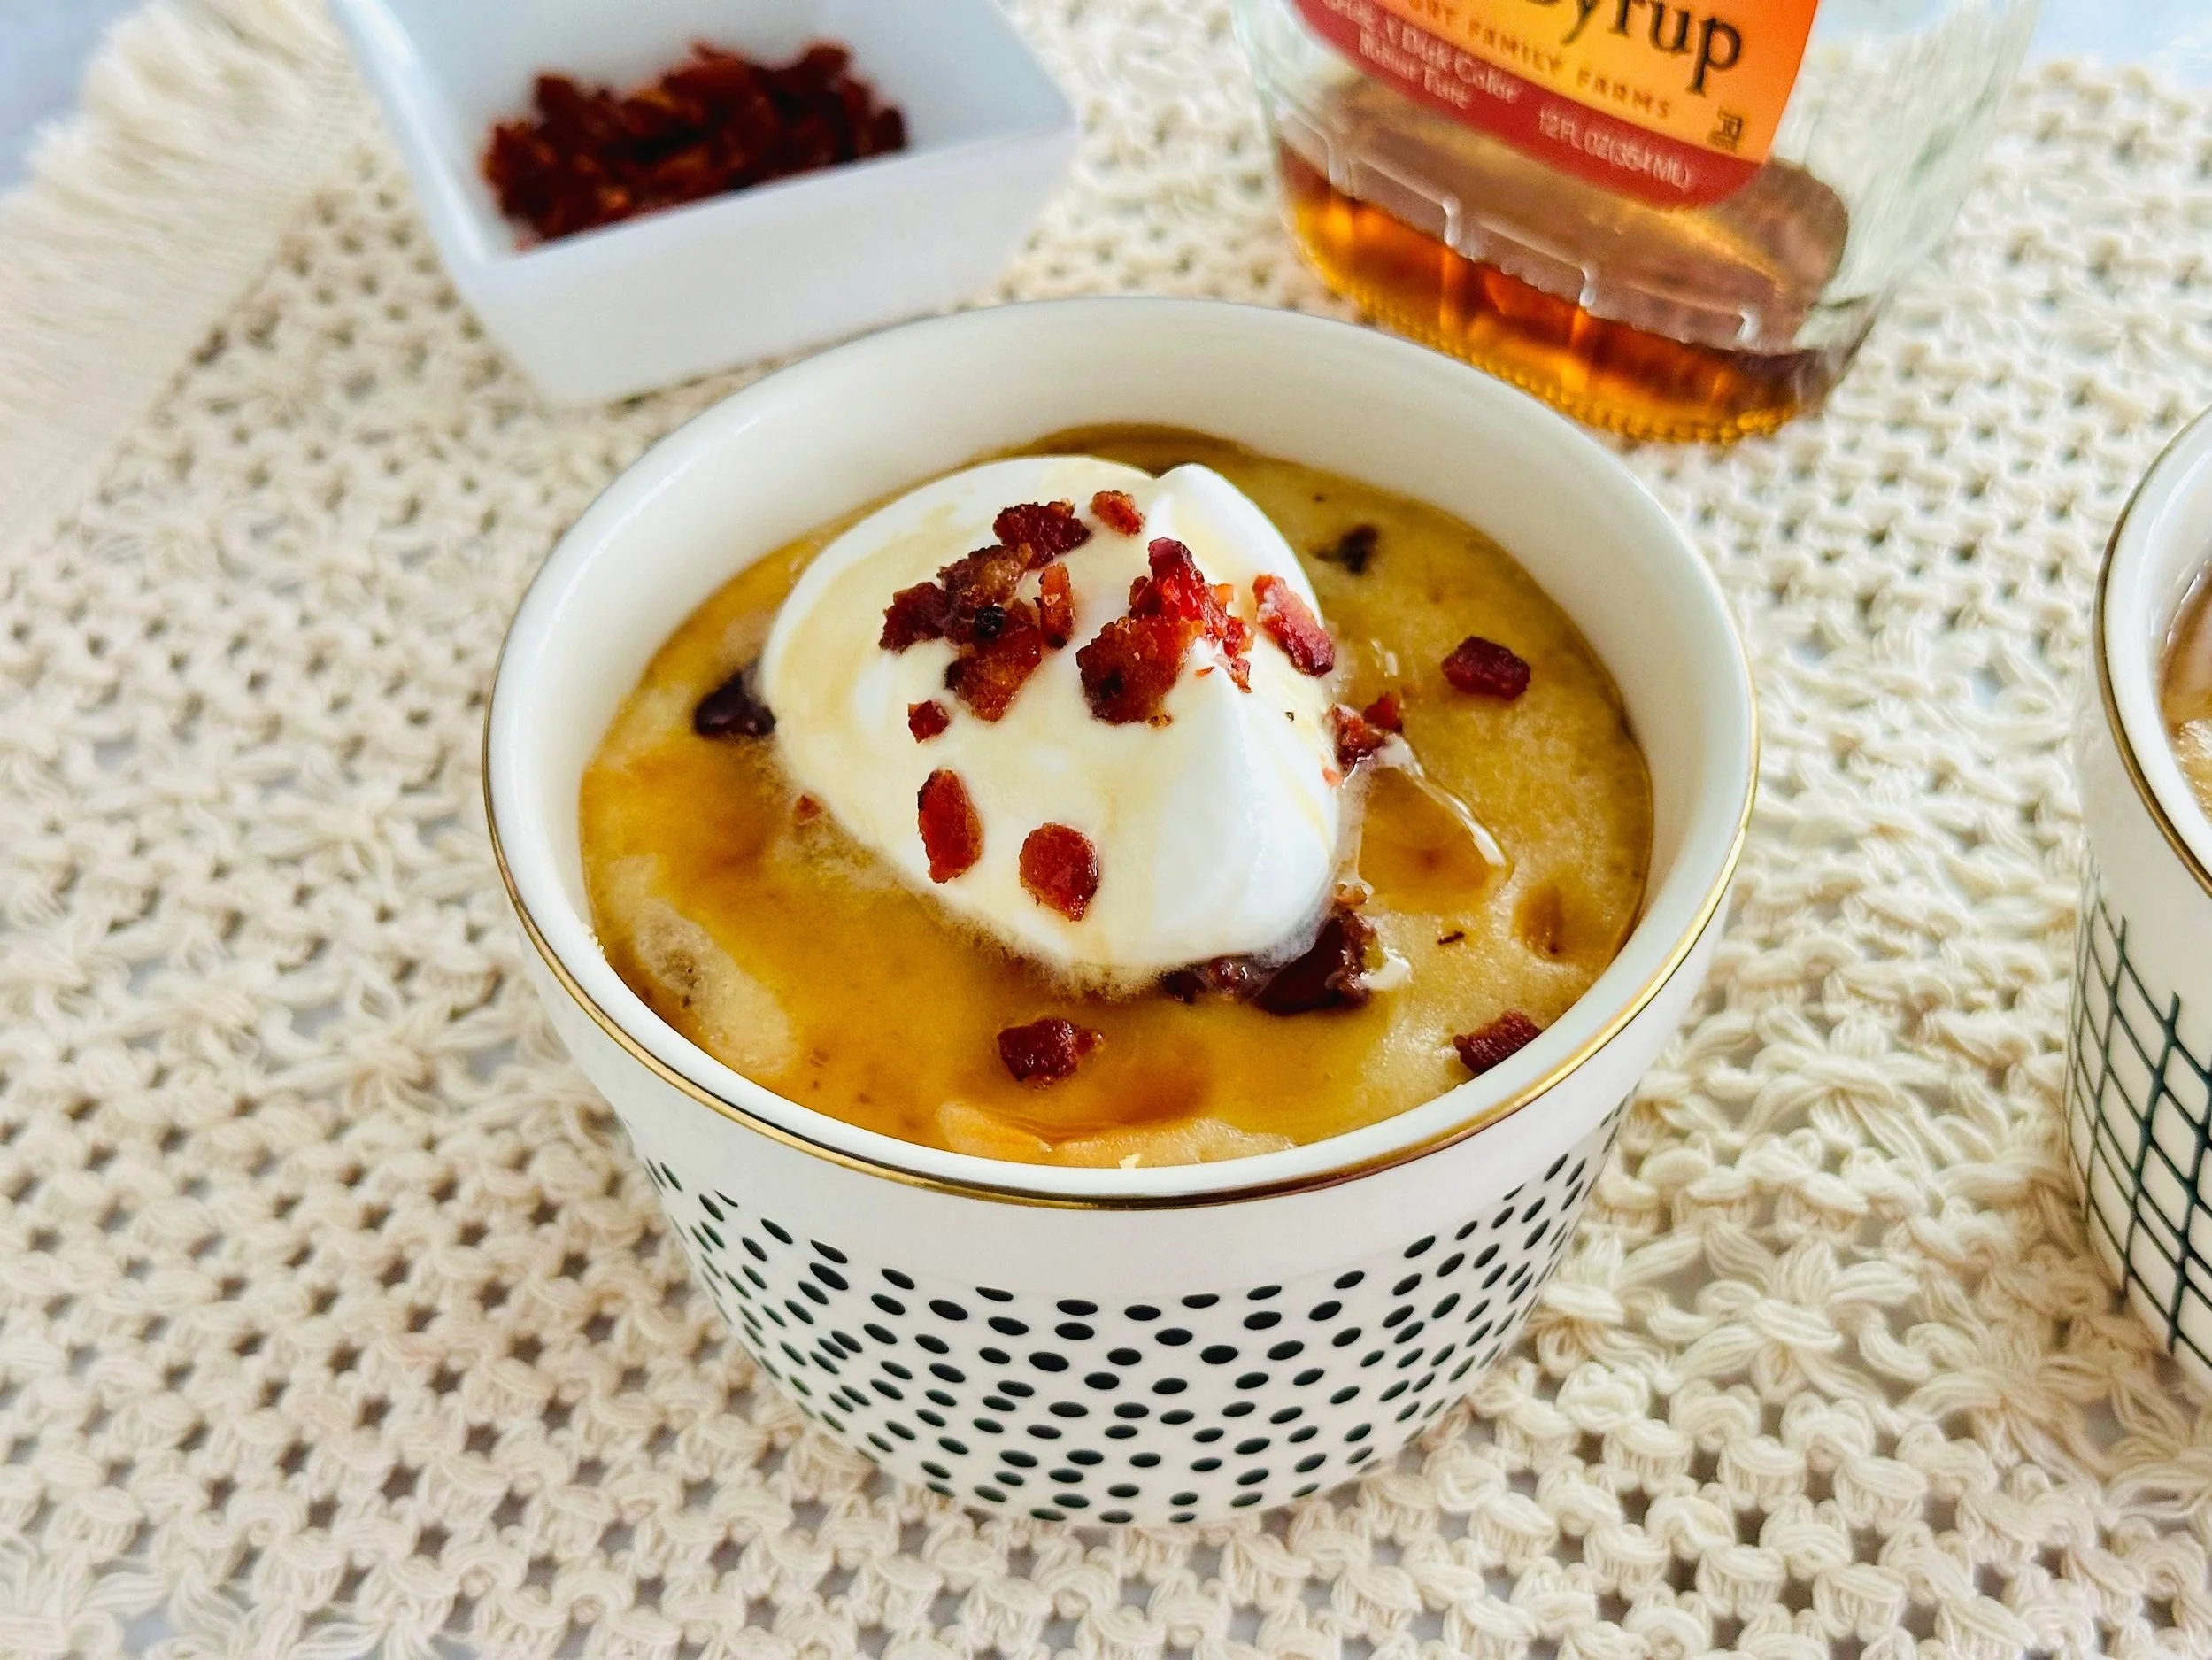
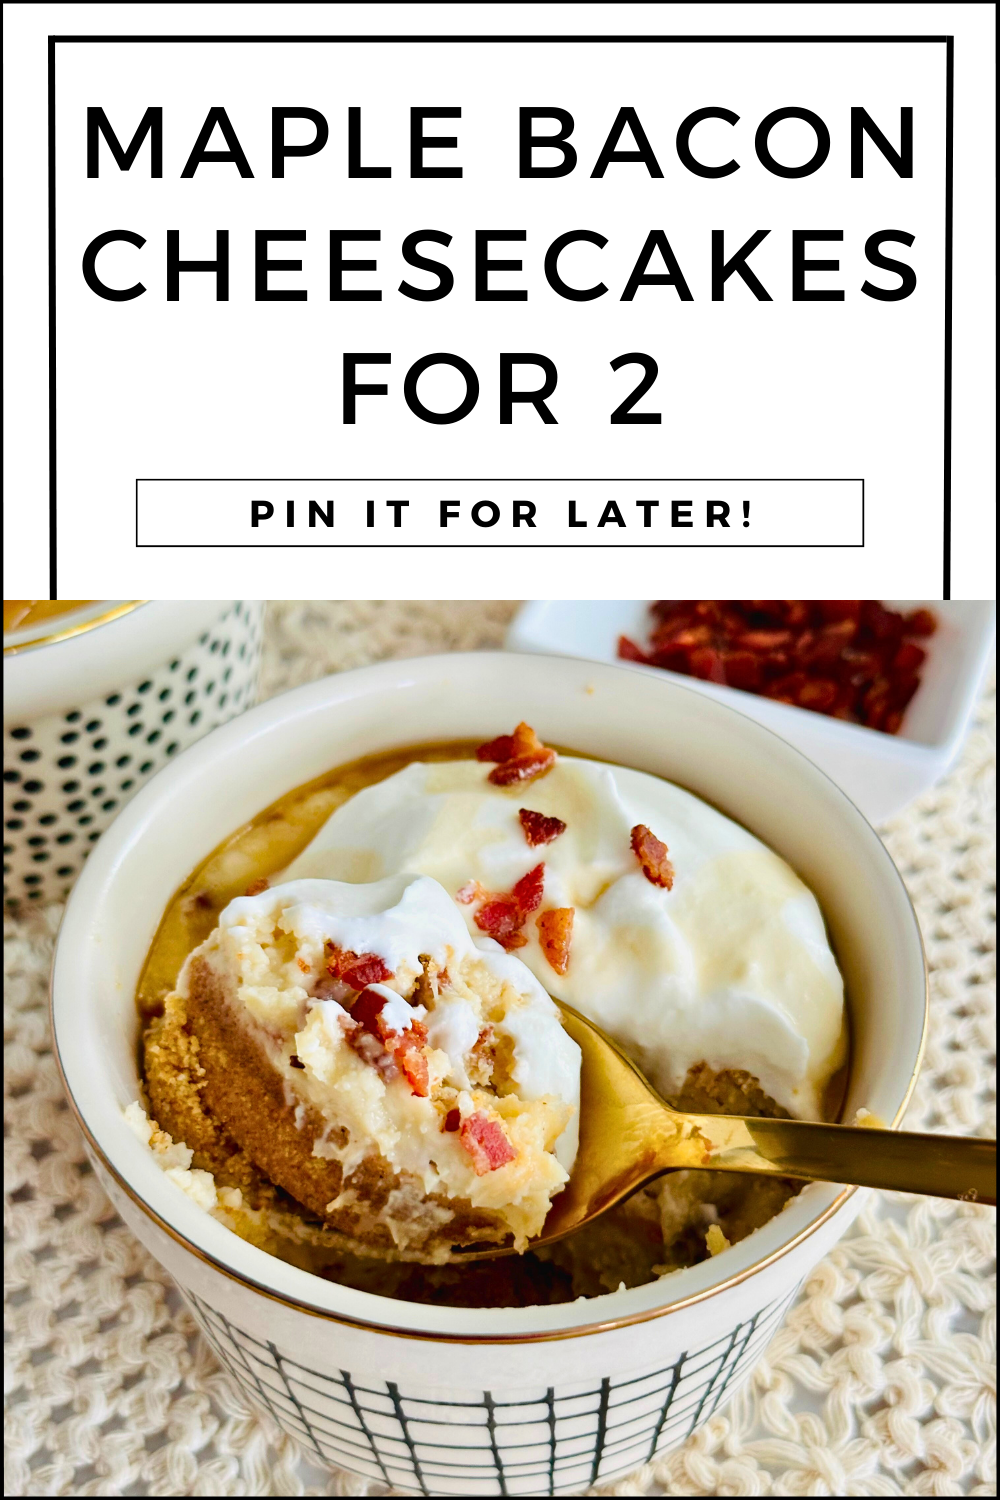
Experience the delightful combination of sweet and savory with this Maple Bacon Cheesecake for Two recipe, featuring a creamy maple-infused filling, buttery graham cracker crust, and crispy bacon bits!
This post may contain affiliate links. View our disclosure policy.
Hey there, fellow dessert lovers! Today, I'm super excited to share a recipe that's perfect for date night, a cozy evening at home, or anytime you crave a sweet treat with a savory twist.
Say hello to my Maple Bacon Cheesecake for Two! These little cheesecakes are the ultimate combination of creamy, sweet, and salty, featuring a luscious maple-flavored cheesecake filling, a buttery graham cracker crust, and crispy bacon bits. Trust me, this dessert is a game-changer!
Advertisement
Why You’ll Love This Recipe
Perfect Portion Size: This recipe makes just enough for two, so you won't have to worry about leftovers (or overindulging!). It's ideal for sharing with someone special or enjoying a solo treat without the guilt.
Flavor Explosion: The combination of creamy cheesecake, rich maple syrup, and salty bacon creates a flavor profile that's out of this world. Each bite is a perfect balance of sweet and savory, making it a unique and unforgettable dessert experience.
Easy to Make: You don't need to be a professional baker to whip up these mini cheesecakes. With simple ingredients and straightforward steps, you'll have a gourmet dessert ready in no time. Plus, the ramekins make for an adorable and elegant presentation.
Advertisement
How to Make Maple Bacon Cheesecake for Two
Equipment Needed:
Wire rack and pan (if using oven method for bacon)
Skillet (if using stovetop method for bacon)
Instructions:
Preheat the Oven
Preheat your oven to 325°F (163°C).
Lightly grease 2 oven-safe ramekins with butter.
Cook the Bacon
Stovetop Method: Cut 3 bacon strips into small pieces before cooking. Place the bacon pieces in a cold skillet, turn the heat to medium, and cook until crispy. Transfer to a paper towel-lined plate to drain and cool.
Oven Method: Preheat your oven to 400°F (200°C). Line a baking sheet with aluminum foil and place a wire rack on top. Lay 3 bacon strips in a single layer on the rack and bake for 15-20 minutes until crispy. Transfer to a paper towel-lined plate to drain and cool. Crumble into small pieces once cooled.
Prepare the Crust
In a small bowl, combine the 3/4 cup crushed graham crackers, 2 Tbsp melted unsalted butter, 1 Tbsp granulated sugar, and 1/2 tsp cinnamon.
Press the mixture evenly into the bottom of each ramekin.
TIP: Pressing the crust into ramekins can be a bit tricky, but don’t fret. Use a small shot glass to help you press down the crust.
Advertisement
Make the Filling
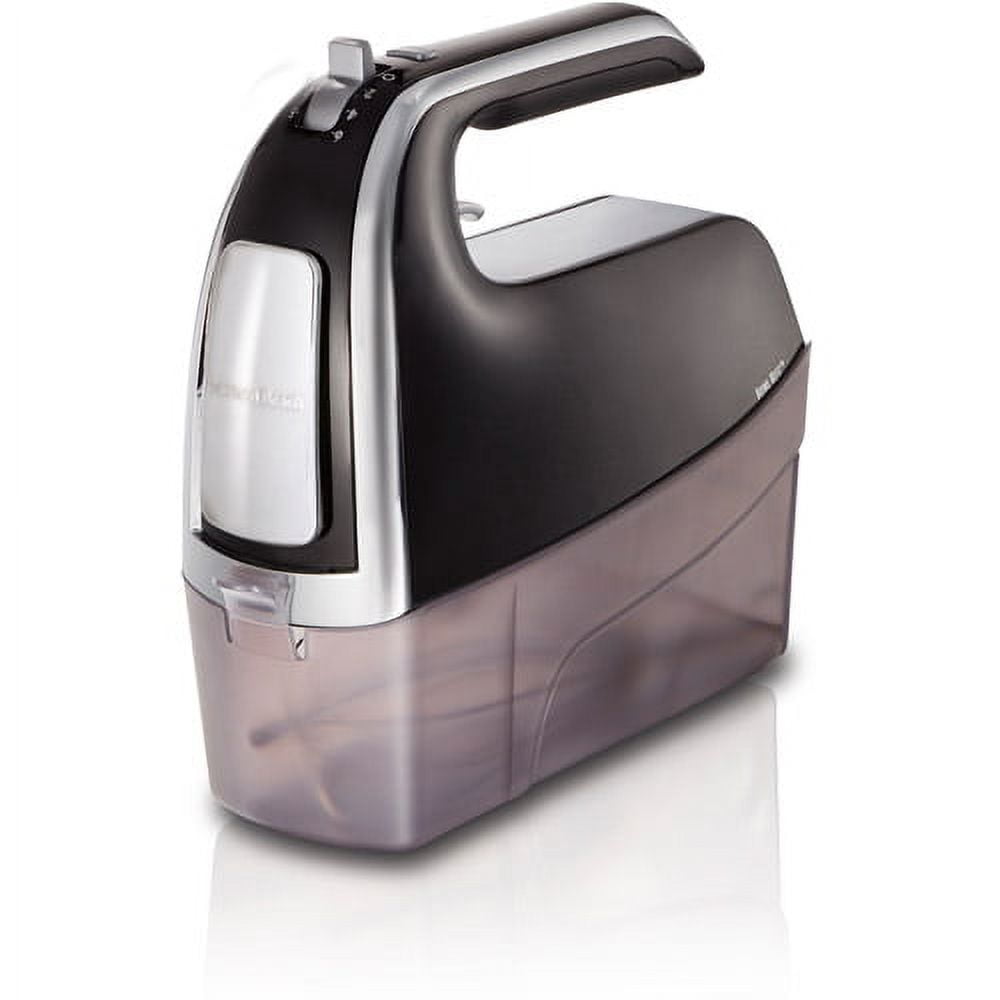
In a mixing bowl, beat 8oz softened cream cheese with an electric hand-mixer until smooth. This should take about 1 minute on medium speed.
Add 1/4 cup granulated sugar and continue to beat until well combined. About another minute on medium speed.
Pour in 1/4 cup maple syrup, then add 1 large egg, 1/2 tsp vanilla extract, and 1/4 tsp maple extract (if using). Beat until fully incorporated, about 1 minute on medium speed.
Using a silicone spatula, gently fold in the crumbled bacon, reserving a Tablespoon for garnish.
Advertisement
Assemble & Bake
Pour the cheesecake filling evenly into the two prepared ramekins over the crust.
Place the ramekins in a baking dish and fill the dish with hot water until it reaches halfway up the sides of the ramekins.
Bake in the preheated oven for 30-35 minutes, or until the centers are set but still slightly jiggly.
Cool & Chill
Remove the ramekins from the water bath and let them cool to room temperature.
Once cooled, cover and refrigerate for at least 2 hours or until fully chilled.
Advertisement
Prepare the Topping
In a mixing bowl, whip 1/4 cup heavy cream until it begins to thicken.
Add 1 Tbsp powdered sugar and continue to whip until stiff peaks form.
Serve
Dollop the whipped cream on top of each cheesecake, sprinkle the reserved crumbled bacon on top, and drizzle with a bit of maple syrup.
Serve these delightful mini cheesecakes with a smile and enjoy the perfect blend of sweet and savory!
Advertisement
Storage & Shelf Life
These mini cheesecakes can be stored in the refrigerator, covered, for up to 3 days. For best results, add the whipped cream topping just before serving to keep it fresh and fluffy.
Ingredient Substitutions and Variations
Crust: Swap graham crackers for crushed digestive biscuits, Oreos, or even pretzels for a unique twist.
Cheesecake Filling: Try adding a dash of cinnamon or a splash of bourbon to the filling for an extra layer of flavor.
Topping: Instead of whipped cream, you can use a dollop of Greek yogurt or mascarpone cheese for a tangy contrast.
FAQs
Q: Can I make these cheesecakes ahead of time?
A: Absolutely! These cheesecakes can be made up to 2 days in advance. Just keep them refrigerated and add the toppings before serving.
Q: Can I freeze these cheesecakes?
A: Yes, you can freeze them without the toppings. Wrap the cooled cheesecakes tightly in plastic wrap and then in aluminum foil. They can be frozen for up to 2 months. Thaw in the refrigerator overnight before serving.
Q: What can I use if I don’t have ramekins?
A: If you don’t have ramekins, you can use a muffin tin lined with cupcake liners. This recipe should yield about 4 mini cheesecakes in a muffin tin.
Advertisement
Tips & Tricks
Prevent Cracks: Baking the cheesecakes in a water bath helps to prevent cracks. Ensure the water bath is about halfway up the sides of the ramekins for the best results.
Room Temperature Ingredients: Make sure your cream cheese and egg are at room temperature to ensure a smooth, lump-free filling.
Customize Your Topping: Get creative with your toppings! Try adding fresh berries, a sprinkle of nuts, or a drizzle of chocolate sauce.
Have You Made This Recipe?
I hope you love these Maple Bacon Cheesecakes for Two as much as I do! If you try this recipe, please leave a comment below and let me know how it turned out.
Don’t forget to subscribe to my newsletter for more delicious recipes and baking tips. Share your cheesecake creations on social media using #ChynaBsSweets. Happy baking!
Thank you for stopping by! Your support means the world to me. Let's spread the love for baking, one delightful dessert at a time.
-Xoxo Chyna B 🍰✨
Advertisement
Advertisement
WATCH THE RECIPE VIDEO HERE!
Watch the video tutorial on YouTube!

Maple Bacon Cheesecakes for 2
Ingredients
Instructions
- Stovetop Method: Cut the bacon strips into small pieces before cooking. Place the bacon pieces in a cold skillet. Turn the heat to medium and cook, stirring occasionally, until the bacon is crispy and browned. Remove the bacon from the skillet and place it on a paper towel-lined plate to drain and cool.
- Oven Method: Preheat your oven to 400°F (200°C). Line a baking sheet with aluminum foil and place a wire rack on top. Lay the bacon strips in a single layer on the rack. Bake for 15-20 minutes, or until crispy. Transfer the bacon to a paper towel-lined plate to drain. Once the bacon is cooled, crumble it into small pieces.
- Preheat your oven to 325 °F (163 °C). Grease the ramekins lightly with butter.
- Prepare the Crust: In a small bowl, combine the crushed graham crackers, melted butter, granulated sugar, and cinnamon. Press the mixture evenly into the bottom of each ramekin to form the crust.
- Make the Filling: In a mixing bowl, beat the softened cream cheese until smooth. Add the granulated sugar and continue to beat until well combined. Pour in the maple syrup, then add the egg, vanilla extract, and maple extract (if using). Beat until everything is fully incorporated. Gently fold in the crumbled bacon, reserving a bit for topping.
- Assemble & Bake: Pour the cheesecake filling evenly into the two prepared ramekins over the crust. Place the ramekins in a baking dish. Fill the baking dish with hot water until it reaches halfway up the sides of the ramekins (this helps to prevent cracking). Bake in the preheated oven for 30-35 minutes, or until the centers are set but still slightly jiggly.
- Cool & Chill: Remove the ramekins from the water bath and let them cool to room temperature. Once cooled, cover and refrigerate for at least 2 hours or until fully chilled.
- Prepare the Topping: In a mixing bowl, whip the heavy cream until it begins to thicken. Add the powdered sugar and continue to whip until stiff peaks form.
- Serve & Enjoy: Dollop the whipped cream on top of each cheesecake. Sprinkle the reserved crumbled bacon on top and drizzle with a bit of maple syrup. Serve these delightful mini cheesecakes with a smile and enjoy the perfect blend of sweet and savory!
Notes
- Make sure your cream cheese and egg are at room temperature to ensure a smooth, lump-free filling.
- Read the entire blog post for more in-depth instructions on this recipe.
Nutrition Facts
Calories
1109.92Fat
71.29 gSat. Fat
39.77 gCarbs
102.46 gFiber
1.42 gNet carbs
101.06 gSugar
78.08 gProtein
17.75 gSodium
845.21 mgCholesterol
283.84 mgAny nutritional information on chynabsweets.com should only be used as a general guideline as this information is provided as a courtesy and is an estimate only.
Hey Sweeties, don't forget to explore Chyna B's Sweets for more scrumptious recipes, engaging content, and amazing treats that will have your taste buds dancing! Subscribe to the newsletter and follow-on social media for all the latest updates.


